Muk Nav Bar
Create Muk Nav Bar
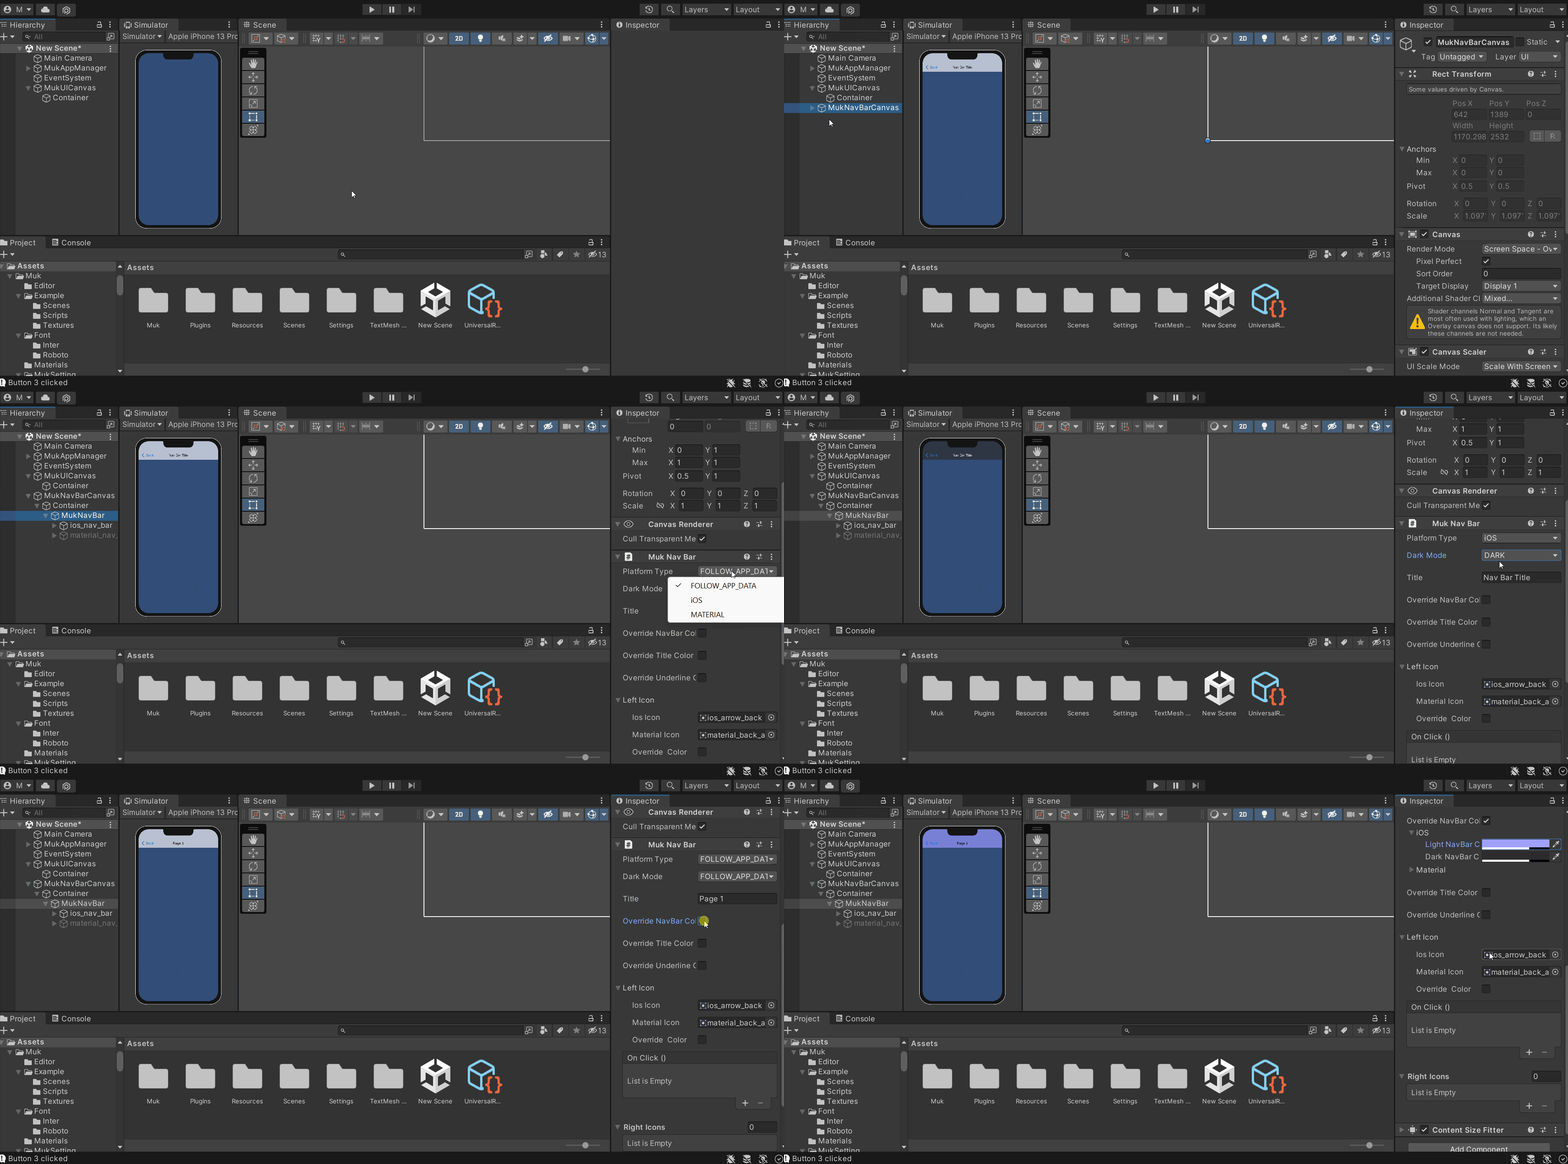
To create Muk Nav Bar, right-click in the Hierarchy > Muk > Nav Bar. You will see a new object(MukNavBarCanvas) created in the Hierarchy. Since Nav bar needs to be on top of all other UIs and iOS may have a blur effect on the Navbar. MukNavbar is rendering in Screen Space – Overlay render mode.
Muk Nav Bar - Properties
Go to MukNavBarCanvas > Container > MukNavBar, You can edit all the settings in Inspector > MukNavBar. For details go througth the properties table below

Customizing Muk Nav Bar
Go to MukNavBarCanvas > Container > MukNavBar, you will see there are two objects inside MukNavBar (ios_nav_bar for iOS UI & material_nav_bar for material design). Both objects have a child called Content, and inside Content, you will see three objects (Left, Center & Right). You can add/delete anything inside Content.
Left
The Left object is for the back button. For iOS, it will have a back button title that is saved as previous scenes’ titles (if there are any). And it will have the native like back animation. You can delete this object and add anything you like. But note custom objects will only have fade animation when a scene is loading/removing.
Center
The Center object is for the title. You can delete the title and add anything you like.
Right
The right object is for the trail buttons. You can set up to three buttons in MukNavBar. You can delete the buttons and add anything you like.